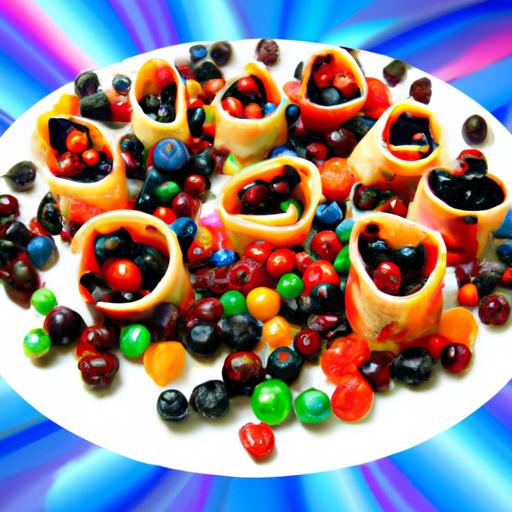
There’s something undeniably nostalgic about peeling apart a vibrant,fruity fruit roll-up-it’s sticky sweetness instantly transporting you back to carefree childhood afternoons. But what if you could recreate that magical treat right in your own kitchen, using fresh ingredients and no artificial additives? Welcome to the world of homemade fruit roll-ups, where simplicity meets creativity in a delicious dance of flavor and texture. In this article, we’ll guide you through the sweet and simple art of crafting your own fruit roll-ups at home, unlocking a fun, customizable snack that’s as wholesome as it is delightful. Get ready to turn fresh fruit into chewy sheets of joy-one roll at a time!
Sweet & Simple: Crafting Homemade Fruit Roll-Ups at home
Discovering the art of Sweet & Simple: Crafting homemade Fruit Roll-Ups at Home has transformed my snack game completely. These vibrant, naturally sweet treats capture the essence of fresh fruit in every bite-free from artificial colors and preservatives. Inspired by nostalgic childhood favorites, homemade fruit roll-ups not only satisfy your sweet tooth but also let you explore endless flavor combinations that elevate this beloved snack into an artisanal experience.
Prep and Cook Time
- Preparation: 15 minutes
- Cooking/Drying: 4-6 hours (depending on drying method)
- Total Time: Approximately 5 hours
Yield
Makes about 6 fruit roll-ups (8×8 inch sheets)
Difficulty Level
Easy to Medium – Perfect for kitchen novices and seasoned snack artisans alike
Ingredients
- 3 cups fresh fruit, chopped (strawberries, mangoes, or mixed berries work wonderfully)
- 2 tablespoons honey or pure maple syrup (for natural sweetness)
- 1 tablespoon lemon juice (to brighten flavor and preserve color)
- 1 teaspoon pure vanilla extract (optional - adds warmth and depth)
- Pinch of sea salt (enhances natural sweetness)
- Optional: 1 teaspoon chia seeds (for texture and omega-3 boost)
Step-by-Step Techniques for Achieving the Perfect Texture and Thickness
- Puree your fruit: Place the chopped fruit in a blender or food processor.Add honey,lemon juice,vanilla,and sea salt. Blend until completely smooth with no lumps.
- Strain for silkiness (optional): Press the puree through a fine sieve to remove seeds or fibrous bits-ideal for berries to achieve that silky finish.
- Prepare your baking surface: Line a large baking sheet with a silicone baking mat or parchment paper to prevent sticking and ensure easy removal.
- Spread evenly: Pour the puree onto the lined sheet and use a spatula to spread it out to an even thickness of about ⅛ inch. this ensures consistent drying and chewiness.
- Dry low and slow: Set your oven to its lowest temperature (~140°F / 60°C). Dry the puree for 4 to 6 hours with the oven door slightly cracked to allow moisture escape, or use a dehydrator set to 135°F.
- Check for doneness: The fruit sheet should feel tacky but not sticky, pliable and peel away easily from the mat without tearing.If it feels wet or fragile, dry longer.
- Cool and cut: Allow the fruit leather to cool completely. Peel it gently from the silicone mat or parchment,place it on a flat surface,and cut into strips or fun shapes using scissors or cookie cutters.
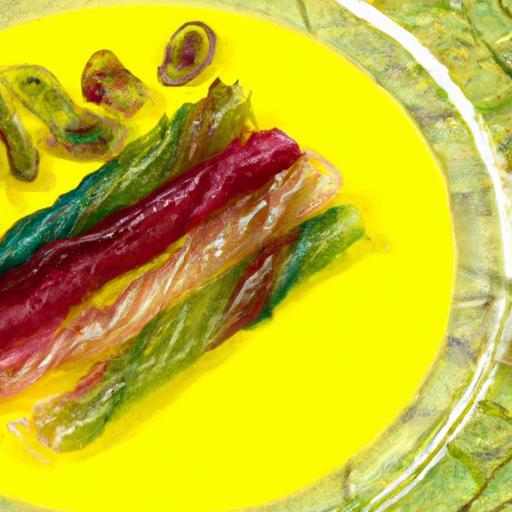
Creative Flavor Combinations to elevate Your Homemade Treats
Infuse your roll-ups with exciting twists that dance on the palate:
- Mango & Turmeric: Luminous, tropical sweetness with an earthy warming undertone.
- Strawberry & Basil: Classic fruit paired with fresh herbaceous notes.
- Peach, Ginger & Honey: A zingy sweet blend perfect for afternoon snacking.
- Blueberry & Lemon Zest: Tart and sweet with a citrus pop.
- Apple & Cinnamon: Cozy flavors reminiscent of fall baking.
Tips for Storing and Enjoying Your Fruit Roll-Ups Fresh and Delicious
Storing homemade fruit roll-ups properly is crucial for maintaining their luscious texture and vibrant flavor. Wrap each roll-up individually in parchment paper or plastic wrap, then place them in an airtight container. Keep them at room temperature,away from heat or direct sunlight. For extended storage, refrigeration can definitely help, but bring them to room temperature before enjoying for optimal chewiness.
When serving, consider presenting your fruit roll-ups alongside a small bowl of Greek yogurt or nut butter for dipping. for parties or kids’ lunchboxes, curl and tie strips with colorful twine, or layer cut shapes in a jar for a visually stunning snack.
Chef’s Notes & Tips for Success
- Adjust sweetness: Depending on your fruit’s natural sweetness, adjust honey or syrup to taste before drying.
- moisture content matters: Juicier fruits like watermelon or pineapple might need less liquid added or longer drying times.
- Experiment with thickness: Too thin results in brittle sheets; too thick leads to chewy centers that don’t dry well.
- Make ahead tip: Fruit roll-ups can be stored for up to 2 weeks in airtight containers.
- Use parchment for easy cleanup: Silicone mats work best,but parchment is a great budget choice.
- Try layering flavors: Spread two complementary purees in thin layers and dry together for a marbled effect.
Serving Suggestions
- Roll them up and slice into bite-sized pinwheels for fun finger food.
- Slice into strips and serve as a naturally sweet garnish for smoothie bowls or yogurt parfaits.
- Pair with nut butters or creamy cheeses for a balanced sweet-savory snack.
- arrange assorted flavors in glass jars for an eye-catching homemade gift.

| Nutrient | Per Fruit Roll-Up (approx.) |
|---|---|
| Calories | 70 |
| Protein | 1g |
| Carbohydrates | 17g |
| Fat | 0g |
| Fiber | 2g |
For an in-depth look at other healthy homemade snacks,check out our Healthy Snack recipes. To deepen your knowledge on fruit nutrition, visit the American Society for Nutrition.
Q&A
Q&A: Sweet & Simple – Crafting Homemade Fruit Roll-Ups at home
Q1: What exactly are fruit roll-ups, and why make them at home?
A: Fruit roll-ups are thin, chewy sheets of fruity goodness that kids (and adults) love to snack on. Homemade versions let you skip the artificial colors, flavors, and preservatives found in store-bought treats. Plus, crafting them yourself means you can customize flavors, sweetness levels, and even sneak in extra nutrients!
Q2: What kind of fruit works best for homemade fruit roll-ups?
A: Almost any fruit can work, but you want something naturally juicy and flavorful. Berries, mangoes, peaches, apples, and even tropical fruits like pineapple make fantastic bases. Bananas can add creaminess, while citrus juices brighten things up. A good tip is to use ripe, fresh fruit for maximum sweetness and flavor.
Q3: How do I get the perfect texture – chewy but not sticky or brittle?
A: The key is slow, low-temperature drying. Puree your fruit until smooth, spread it evenly on a baking sheet lined with parchment, and then dry it in a low oven (around 140°F or 60°C) or a food dehydrator for several hours. Patience pays off! if it’s too sticky, try drying a bit longer.If brittle, you might have dried it too long or spread the puree too thin.
Q4: Do I need to add sugar or any other sweeteners?
A: Not necessarily! Ripe fruits are frequently enough sweet enough. However, if your fruit is tart, a small drizzle of honey, maple syrup, or agave nectar can balance the flavors. You can also add a splash of lemon juice to enhance brightness without extra sweetness.Q5: Can I mix fruits or add flavors to experiment?
A: Absolutely! Mixing strawberries and kiwi, or mango and pineapple, can create exciting tropical blends. You can also stir in a pinch of cinnamon, ginger, or vanilla extract for a flavor twist. The homemade approach encourages creativity.
Q6: How do I store homemade fruit roll-ups to keep them fresh?
A: Once fully dried and cooled, roll them up in parchment paper or plastic wrap and store in an airtight container. Keep them in a cool, dry place to maintain chewiness – typically good for up to two weeks. For longer storage,refrigeration or freezing works well.Q7: is this recipe kid-kind and safe?
A: Definitely! Homemade fruit roll-ups are free from artificial additives and are a fun, healthy way to encourage kids to enjoy fruit. Plus, involving little helpers in the blending and spreading stages can turn snack-making into a creative family activity.
Q8: What are some fun serving ideas for homemade fruit roll-ups?
A: Wrap them around a stick for fruity lollipops,slice into bite-sized pieces to toss in lunchboxes,or cut into fun shapes with cookie cutters. You can even sandwich cream cheese or nut butter between two fruit sheets for a playful,nutritious snack.
Bringing fruity fun into your kitchen couldn’t be simpler - just pure fruit, a little time, and a dash of creativity!
Future outlook
Crafting your own homemade fruit roll-ups is more than just a fun kitchen project-it’s a delicious way to connect with nature’s sweetest gifts while customizing every bite to your liking. Armed with fresh fruit, a touch of patience, and a dash of creativity, you can transform everyday ingredients into vibrant, chewy treats that are as wholesome as they are satisfying. Weather you’re aiming for nostalgic flavors or adventurous combinations, this simple process invites you to savor the joy of making snacks from scratch. So,roll up your sleeves,gather your favorite fruits,and start crafting your own sweet,simple masterpieces-as the best treats are the ones made with love and a little bit of whimsy.