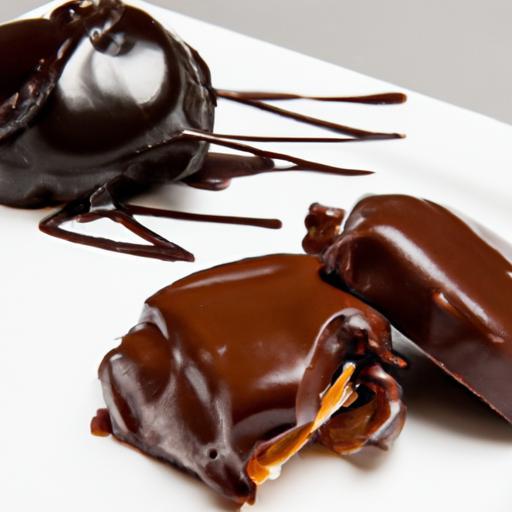
There’s something undeniably magical about the gleaming surface of a chocolate mirror glaze-a glossy, glass-like finish that transforms any cake into an irresistible work of art.Whether you’re aiming to impress at a special party or simply want to elevate your dessert game, mastering the art of the perfect chocolate mirror glaze is a rewarding adventure. In this article, we’ll dive into the secrets behind achieving that flawless shine, explore key techniques, and guide you step-by-step to create a stunning glaze that not only dazzles the eyes but delights the palate. Get ready to turn ordinary cakes into shimmering masterpieces with your very own shiny delight!
Shiny Delight: How to Make a Perfect Chocolate Mirror Glaze
Shiny Delight is not just a treat for the eyes but a luscious experience that elevates any chocolate creation to stunning heights.this ultimate guide unveils how to achieve that breathtakingly flawless chocolate mirror glaze that gleams with intoxicating gloss and glides perfectly over cakes.Whether you’re a seasoned pastry artist or a passionate home baker, mastering this technique will transform your desserts into stunning showstoppers that delight every single time.
Prep and Cook Time
- Prep Time: 20 minutes
- Cook Time: 15 minutes
- Total Time: 35 minutes
Yield
Enough glaze to cover a 8-inch (20 cm) round cake, serving approximately 12 slices.
Difficulty Level
Advanced: Requires precision and patience to master the perfect shine and smooth texture.
Ingredients
- 300 g dark chocolate (at least 70% cocoa), finely chopped
- 200 g granulated sugar
- 200 ml whole milk
- 200 ml heavy cream
- 12 g powdered gelatin (or 6 gelatin sheets), softened in cold water
- 60 g light corn syrup or glucose syrup
- 1 tsp vanilla extract (optional, for an aromatic touch)
Instructions
- Bloom the Gelatin: If using powdered gelatin, sprinkle it evenly over 60 ml of cold water and let it absorb fully for 5 minutes. If using sheets, soften them in cold water for 10 minutes and gently squeeze out excess moisture.
- Prepare the Base: In a medium saucepan,combine sugar,milk,heavy cream,and corn syrup. Heat over medium heat, stirring occasionally, until the mixture comes to a low boil. Remove from heat immediately to avoid caramelizing.
- Incorporate Gelatin: Add the bloomed gelatin to the hot mixture, stirring gently until completely dissolved. Do not let the mixture boil after adding gelatin.
- Pour Over Chocolate: Place the chopped dark chocolate in a large heatproof bowl. Pour the hot milk mixture over the chocolate and let it sit for 2-3 minutes to soften the chocolate.
- Emulsify the Glaze: Using a whisk or immersion blender, gently mix the chocolate and liquid until smooth and glossy. avoid incorporating air bubbles by blending in short bursts or slow motions.
- Cool to Pouring Temperature: Transfer the glaze to a shallow container and let it cool to around 30-32°C (86-90°F).Use a kitchen thermometer for precision.
- Prepare Your Cake: Make sure your cake is frozen and has a smooth crumb coat. This prevents the glaze from sinking in and helps it set beautifully.
- Pour the Glaze: Place your cake on a wire rack over a baking tray. Slowly pour the glaze evenly over the center, letting it cascade smoothly over the edges. Pour continuously in one direction for an even coat.
- Set the Mirror Finish: Let excess glaze drip off, then transfer the cake to a serving plate and refrigerate for at least 1 hour to allow the sheen to set firmly.
Chef’s Notes & Tips for Success
- Choosing the Right Chocolate: Use fine quality couverture chocolate with at least 70% cocoa for depth of flavor and optimal shine. Milk or white chocolate require adjustments in sugar and gelatin due to fat content differences.
- Tempering Insight: Although not customary tempering,controlling temperature is key for shine and smoothness. Pour your glaze only when cooled to the perfect window (30-32°C).
- avoid Bubbles: Air bubbles dull the glossy surface. Strain your glaze through a fine sieve before pouring to ensure absolute smoothness.
- Storage: Mirror glazed cakes can be refrigerated up to 48 hours but consume sooner for best shine.
- Flavor Variations: Add a teaspoon of espresso powder or a pinch of sea salt to enhance chocolate complexity without sacrificing gloss.
- Make-Ahead: Prepare glaze ahead and keep refrigerated. Gently rewarm in a warm water bath to pouring temperature when ready.
Serving Suggestions
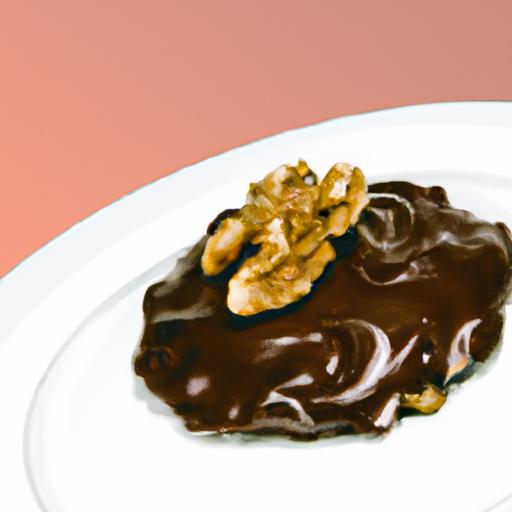
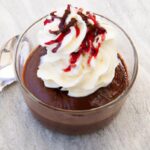
Showcase your creation by presenting it on a sleek white platter to maximize contrast with the glossy glaze.Garnish with edible gold leaf, fresh berries, or delicate chocolate curls to elevate the elegance. Serve chilled, with a dollop of lightly whipped cream infused with vanilla or citrus zest for a complementary freshness that balances the rich chocolate shine.
| Nutritional Info (per serving) | Calories | Protein | Carbs | fat |
|---|---|---|---|---|
| Chocolate Mirror Glaze | 180 kcal | 2 g | 30 g | 6 g |
For more detailed tips on chocolate work, check out our Ultimate Guide to Working with Chocolate. Also, learn more about gelatin usage from The Culinary Institute of America.

Q&A
Q&A: Shiny Delight – How to Make a Perfect Chocolate Mirror Glaze
Q1: What exactly is a chocolate mirror glaze?
A: Imagine a surface so glossy and reflective it looks like a dark,silky pond. That’s a chocolate mirror glaze-a luscious, shiny coating that transforms ordinary cakes into dazzling showstoppers. Made from a harmonious blend of chocolate, cream, sugar, and gelatin, it creates a smooth, glass-like finish that gleams with irresistible allure.
Q2: Why is my mirror glaze not shiny?
A: The secret to that flawless shine lies in temperature and technique. If your glaze is too hot, it becomes too fluid and loses its sheen; too cool, and it thickens, creating a dull or cracked finish. Aim for about 90°F (32°C) when pouring, and ensure the cake is wicked cold to help the glaze set smoothly and retain its glossy magic.
Q3: Can I make a chocolate mirror glaze without gelatin?
A: While gelatin is the classic binder that gives mirror glaze its signature smooth elasticity and shine, plant-based alternatives like agar-agar can be used for a vegetarian-friendly twist. Just remember these substitutes have diffrent setting properties, so some experimentation may be needed to get that perfect glaze texture.
Q4: How do I get an even, flawless coverage?
A: Patience and prep are your allies. Chill your cake thoroughly-usually overnight-and place it on a wire rack with a tray underneath to catch drips. Pour the glaze in a slow, steady stream starting at the center and spiraling outward. The glaze should flow like liquid silk, enveloping every curve before settling into a perfect mirror finish.
Q5: Can I flavor or color my chocolate mirror glaze?
A: Absolutely! Dark, milk, or white chocolate can serve as your canvas. Add a splash of raspberry puree, a hint of espresso, or infuse with mint for unique flavor notes. For vibrant colors,use high-quality edible food coloring,especially with white chocolate bases-the glossy surface doubles as edible art waiting to happen.
Q6: What common mistakes should I avoid?
A: Avoid rushing the cooling process, over-stirring your glaze, or pouring onto a warm cake. also, avoid using low-quality chocolate as it can mute shine and texture. Lastly, don’t try to fix a glaze once poured-it’s best to start fresh if something goes awry.
Q7: How can I store a cake with chocolate mirror glaze?
A: Keep it chilled in the refrigerator, covered loosely to prevent moisture buildup that could matte the glaze. For best shine and flavor, serve it within 2-3 days. When ready, bring it to room temperature for a few minutes to reveal that gleaming chocolate perfection.
Crafting a chocolate mirror glaze is as much science as it is indeed art-a dance of temperatures, textures, and patience that rewards you with a dessert as breathtaking to look at as it is to savor. Ready to pour your shiny delight?
To Wrap It Up
With your newfound mastery of the chocolate mirror glaze, every dessert you craft can now sparkle with a glossy, glass-like finish that delights both the eyes and the palate. Remember, patience and precision are your best ingredients-allowing the glaze to cool just right ensures that exquisite shine and flawless smoothness. Whether you’re dressing up a simple cake or elevating an elegant entremet, this shiny delight transforms your creations into irresistible works of edible art. So go ahead, dip into this glossy world and let your desserts reflect the brilliance of your culinary creativity.