There’s a certain magic in desserts that require no oven time-just a few simple ingredients coming together to create something irresistibly tasty.Enter the world of no-bake coconut bars: sweet, chewy, and delightfully easy to make. in “Sweet Simplicity: no-bake Coconut Bars You’ll Love,” we’ll explore a recipe that transforms humble pantry staples into a luscious treat perfect for any occasion. Whether you’re a seasoned baker looking for a quick fix or a newbie eager to try your hand at homemade sweets, these bars promise a perfect balance of flavor and fuss-free planning. Get ready to indulge in a coconut-infused delight that’s as effortless as it is enchanting.
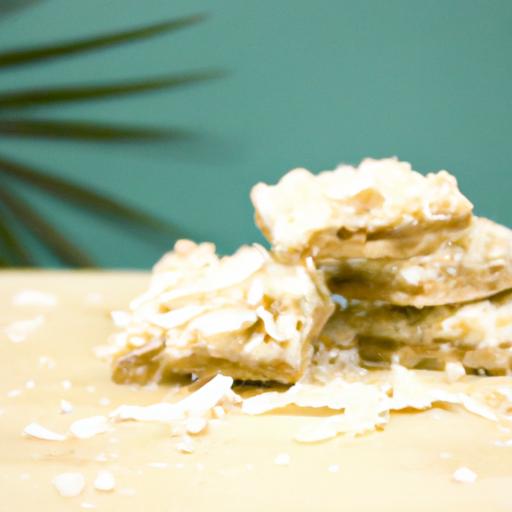
Sweet Simplicity: No-Bake Coconut Bars You’ll Love are an enchanting treat that balance creamy richness with a satisfyingly crunchy texture, capturing the vrey essence of tropical indulgence without heating up your kitchen. These bars are inspired by the classic coconut confections found in cozy seaside bakeries, yet crafted so anyone can whip them up in under 30 minutes. Whether you’re craving a quick snack or a delightful dessert, this recipe will make you fall in love with the ease and charm of no-bake sweets.
Prep and Cook Time
- Prep time: 15 minutes
- Chilling Time: 1 hour
- Total Time: 1 hour 15 minutes
Yield
- Makes approximately 16 bars (4×4-inch pan)
Difficulty Level
- Easy – perfect for beginners and seasoned bakers alike
Key Ingredients That Make Your Coconut Bars Creamy and Crunchy
- 2 cups shredded unsweetened coconut – provides natural chew and tropical flavor
- 1 cup crunchy rice cereal – adds delightful texture
- 1 cup sweetened condensed milk – binds everything together with creamy sweetness
- 1/2 cup white chocolate chips – adds richness and an elegant finish
- 1 teaspoon pure vanilla extract – enhances flavor depth
- 1/4 teaspoon sea salt – balances sweetness perfectly
- Optional: 1/2 cup chopped macadamia nuts or almonds – for extra crunch and nuttiness
Step by Step Guide to Perfect No-Bake Coconut Bars Every Time
- Line an 8×8-inch square pan with parchment paper, leaving an overhang on the sides for easy removal.
- In a large mixing bowl, combine shredded coconut and crunchy rice cereal. Stir well to evenly distribute the textures.
- warm the sweetened condensed milk gently in a microwave-safe bowl for 30 seconds until slightly runny but not hot.This helps it blend smoothly.
- Pour the sweetened condensed milk over the coconut mixture. add vanilla extract and sea salt. Use a sturdy spatula to fold everything together until fully coated and sticky.
- If using nuts, fold them in gently now to avoid breaking them up.
- Transfer the mixture into the prepared pan and press firmly into an even layer with the back of a spoon or your hands (lightly greased to prevent sticking).
- Melt the white chocolate chips in a microwave-safe bowl in 20-second increments, stirring between each, until smooth.
- Drizzle the melted white chocolate evenly over the top.Use a spatula or back of a spoon to gently spread it into a thin layer.
- Refrigerate the bars for at least 1 hour, or until the bars are firm and the white chocolate has set.
- Using the parchment overhang, lift the bars from the pan and cut into 16 equal squares with a sharp knife. Warm the knife blade between cuts for clean edges.
Creative Twists and toppings to Elevate Your Coconut Treats
Add a personal flair by sprinkling toasted coconut flakes or a light dusting of cinnamon before the chocolate sets. For a decadent upgrade, drizzle with homemade caramel sauce or sprinkle crushed freeze-dried berries for a pop of color and tartness. Imagine serving these bars alongside a scoop of coconut gelato or garnished with edible flowers to impress guests at your next gathering.
Chef’s Notes: tips for Success
- Ensure the sweetened condensed milk is slightly warmed for easier mixing and better binding.
- Pressing firmly into the pan helps bars hold together perfectly-don’t be shy with your hands!
- Store bars in an airtight container in the refrigerator to maintain freshness and texture.
- Substitute white chocolate with dark or milk chocolate for diffrent flavor profiles.
- For a vegan variation, use sweetened coconut condensed milk alternatives and dairy-free chocolate chips.
- Make-ahead: These bars keep beautifully refrigerated for up to one week or freeze well for longer storage.
Serving Suggestions
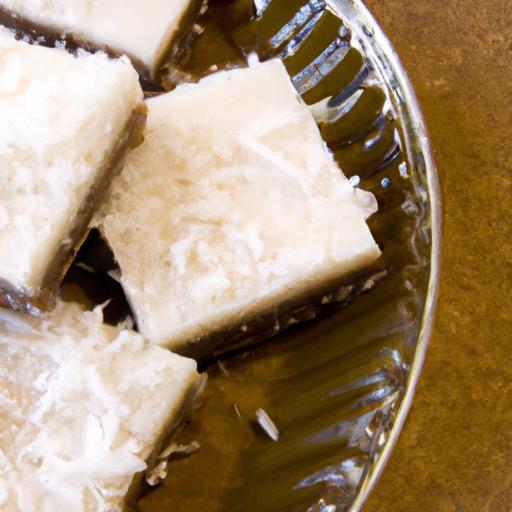
Serve these coconut bars chilled, straight from the fridge, for the best contrast of creamy and crunchy.Arrange them on a rustic wooden board or a bright ceramic plate for eye-catching appeal. Garnish plated bars with freshly grated lime zest, a sprinkle of toasted coconut, and a sprig of mint to enhance the tropical vibe. Pair with a cup of fragrant chai tea or a chilled tropical smoothie for a perfectly balanced snack experience.

| Nutrition per Bar | Amount |
|---|---|
| Calories | 180 kcal |
| Protein | 2 g |
| Carbohydrates | 22 g |
| Fat | 9 g |
For more delightful no-bake dessert inspiration, don’t miss our Easy No-Bake Desserts collection. Dive into simple recipes that bring sweet satisfaction without fuss.
Q&A
Q&A: Sweet Simplicity – No-Bake Coconut Bars You’ll Love
Q1: What makes these no-bake coconut bars so special?
A1: These bars capture the essence of tropical bliss in a wonderfully simple form. no oven? No problem! Their no-bake nature not only saves time and energy but preserves the delicate texture and natural flavors of coconut, creating a sweet treat that’s both satisfying and effortless.
Q2: Are these bars difficult to prepare for someone new to no-bake desserts?
A2: Not at all! The recipe is a breeze, perfect for kitchen novices and seasoned bakers alike. With straightforward ingredients and easy mixing steps, you’ll whip up a batch in no time – no roasting or intricate techniques needed.
Q3: What ingredients give these coconut bars their irresistible texture?
A3: The magic lies in the finely shredded coconut, combined with a binding duo of condensed milk and a hint of butter or coconut oil. This blend yields bars that are moist yet firm, with a pleasantly chewy bite and a melt-in-your-mouth finish.
Q4: Can I customize these bars with additional flavors or toppings?
A4: Absolutely! These bars serve as a delicious blank canvas.Add a sprinkle of toasted nuts for crunch, drizzle dark chocolate for a decadent twist, or stir in a dash of vanilla or almond extract to elevate the flavor profile.
Q5: Are these coconut bars suitable for special diets or allergen considerations?
A5: They’re naturally gluten-free and can be adapted for dairy-free diets by substituting condensed milk with coconut condensed milk and using coconut oil rather of butter. Always check ingredient labels to ensure suitability for your specific needs.
Q6: How should I store these no-bake coconut bars to keep them fresh?
A6: Store them in an airtight container in the refrigerator for up to a week. for longer preservation, pop them in the freezer – just thaw slightly before indulging. Their cool, firm texture makes them perfect for a sweet snack anytime.
Q7: What occasions are perfect for serving these no-bake coconut bars?
A7: Think picnics, potlucks, afternoon tea, or a quick homemade treat when cravings strike. Their charming simplicity and tropical flair also make them a hit at summer parties and beach-themed gatherings.
Q8: Any expert tips for achieving the perfect no-bake coconut bars?
A8: Yes! Use fresh or high-quality shredded coconut for the best flavor.Don’t skip chilling the bars to allow them to set firmly. And when pressing the mixture into the pan, compact it tightly to avoid crumbly edges – it helps create those clean, satisfying bites you’ll crave.
Final Thoughts
Embracing the effortless charm of these no-bake coconut bars means welcoming a sweet simplicity into your kitchen routine-where minimal ingredients and zero oven time combine to create a delightfully satisfying treat. Whether you’re craving a quick afternoon pick-me-up or a crowd-pleasing dessert for your next gathering, these bars stand ready to charm with their luscious, tropical flavor and tender texture. So go ahead, whip up a batch, savor each bite, and let the ease of no-bake bliss become your new favorite indulgence.After all, sometimes the sweetest pleasures really are the simplest.