Baking without gluten doesn’t have too mean sacrificing texture, flavor, or the joy of pulling a perfect loaf or batch of cookies from the oven. Welcome to the art of mastering gluten-free baking, where science meets creativity and every ingredient swap holds the promise of appetizing success. In this guide, we’ll unravel the mysteries behind 1:1 gluten-free flour substitutions-transforming your favorite recipes into mouthwatering masterpieces without the gluten. Weather you’re a seasoned baker or just starting your gluten-free journey, understanding how to navigate flour blends will unlock a world of culinary possibilities, proving that gluten-free can also mean guilt-free and scrumptiously simple.
Mastering gluten-free baking: perfect 1:1 flour swaps unlocks a world of confidence and creativity in your kitchen. Navigating the complex science behind gluten-free flours can initially feel daunting, but understanding their unique properties transforms ordinary recipes into delightful, tender, and flavorful treats. Whether you’re adapting a cherished family favorite or experimenting with new bakes, selecting the best 1:1 flour substitutes elevates your results, ensuring texture and taste that rival traditional wheat-based versions.
Prep and Cook Time
- Prep Time: 15 minutes
- Cook Time: Varies depending on recipe (typically 20-40 minutes)
Yield
Depends on recipe - typically serves 8.
Difficulty Level
Medium – requires some experimentation, but results are reliably rewarding.
Ingredients
- 1 cup gluten-free 1:1 flour blend (commercially pre-mixed blends with xanthan gum or guar gum work best)
- 1/2 teaspoon baking powder (gluten-free)
- 1/4 teaspoon salt
- 2 large eggs (room temperature)
- 1/2 cup milk (dairy or plant-based depending on preference)
- 1/4 cup vegetable oil or melted butter
- 1 teaspoon vanilla extract
- Optional: 1 tablespoon sugar (for sweeter applications)
Instructions
- Preheat your oven to the temperature specified in your underlying recipe-usually 350°F (175°C).
- Whisk together the gluten-free 1:1 flour blend,baking powder,and salt in a medium bowl,ensuring even distribution.
- In a separate bowl, beat the eggs until light and frothy, then stir in the milk, oil, and vanilla extract. Add sugar if using.
- Gradually combine the wet ingredients with the dry, folding gently until just blended-avoid overmixing to maintain tenderness.
- Transfer batter to a prepared pan (greased or lined), and tap gently to release air bubbles for even crumb structure.
- Bake until golden and a toothpick inserted in the center comes out clean. Timing varies by recipe-start checking 5 minutes before expected bake time.
- Cool completely before slicing or frosting to allow structure to set properly and prevent crumbling.
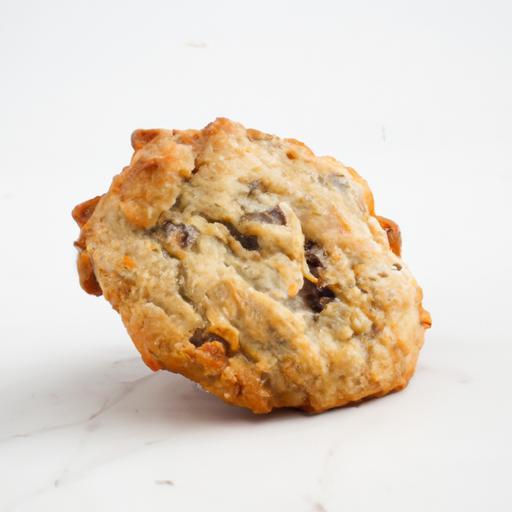
Tips for Success in Gluten-Free Baking
- Choose a high-quality 1:1 gluten-free flour blend that includes a binder like xanthan gum or guar gum-this mimics gluten’s elasticity and aids in moisture retention.
- experiment with blends containing rice flour, tapioca starch, potato starch, and millet flour for balanced flavor and texture.
- Hydration is key. Gluten-free flours often require slightly more liquid-adding a tablespoon or two of water or milk can rescue dry doughs.
- Rest your batter or dough for at least 30 minutes before baking to allow flours to fully hydrate; this benefits texture dramatically.
- Don’t skip sifting your dry ingredients-it prevents clumping and produces a lighter crumb.
- Eggs act as natural binders and leaveners; if vegan or egg-free, substitute with flax eggs or commercial egg replacers for structural support.
- For a crisp crust,brush the tops with melted butter or oil before baking.
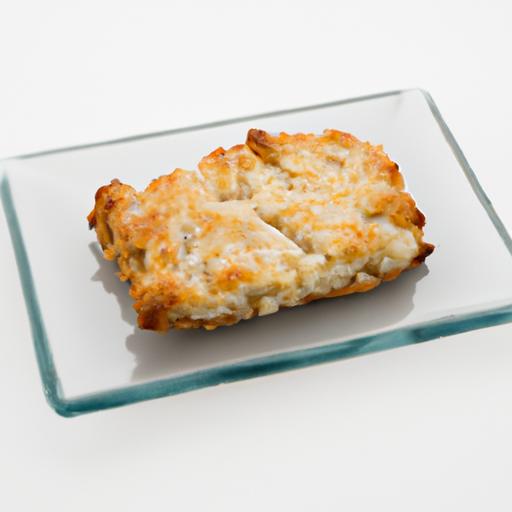
Serving Suggestions
gluten-free baked goods shine when presented with thoughtful garnishes and accompaniments. Consider dusting with powdered sugar, drizzling a warm fruit compote, or pairing freshly baked muffins or cakes with a dollop of whipped cream or coconut yogurt. Fresh berries or toasted nuts lend vibrant color and delightful crunch, visually inviting and texturally satisfying. Warm scones or breads accompany herb-infused butters or artisan jams for an irresistible breakfast or afternoon treat.
Nutritional Facts (Per Serving)
| Calories | Protein | Carbs | Fat |
|---|---|---|---|
| 220 | 5g | 30g | 8g |
understanding the Science Behind Gluten-Free Flours
The magic behind gluten-free baking lies in the intricate dance of starches and proteins that replicate gluten’s function. Unlike wheat flour, gluten-free alternatives lack elasticity and cohesiveness, which typically come from gluten. Flour blends combining rice flour’s mild flavor, tapioca starch‘s chewiness, and potato starch‘s moisture retention create a mimetic network to support rise and texture. Additionally, gums and binders such as xanthan gum fill in for gluten’s role, giving structure to crumb and preventing excessive crumbling.
Choosing the Best 1:1 Flour Substitutes for Common Recipes
While gluten-free flour blends labeled as 1:1 substitutes offer terrific convenience, individual recipes sometimes benefit from thoughtful tweaking. For cakes requiring delicate crumb, blends higher in starches like tapioca deliver softness. Bread and pizza dough require more protein from grain flours such as sorghum or millet to provide chew and structure. Tailoring blends based on the final texture desired helps ensure your baking triumphs.
Tips for Achieving Ideal Texture and Flavor in Gluten-Free Bakes
Perfect 1:1 flour swaps don’t just replicate texture-they enhance flavor by balancing nutty, earthy, and subtly sweet notes from various gluten-free grains. Integrate whole grain gluten-free flours sparingly to introduce depth without heaviness. Bake at slightly lower temperatures for longer to reduce drying out, and incorporate ingredients like yogurt or applesauce to boost moisture and tenderness. for enhanced nuttiness, lightly toast flours before use.
Troubleshooting Common Challenges When swapping Flours
If your gluten-free bakes turn out dense or crumbly,check hydration levels and don’t skimp on binders. Soggy bottoms often indicate excess liquid or unbalanced starch ratios-try reducing liquid incrementally. A gummy texture usually signals overmixing or insufficient baking. Lastly,if items fail to rise,ensure your baking powder is fresh and try folding in aerating agents like beaten egg whites or carbonated beverages to introduce lift.
For more in-depth tips on selecting gluten-free ingredients, visit Gluten Free watchdog.
Explore our Gluten-Free Baking Basics guide for additional flour swap ideas and recipe inspiration.

Q&A
Q&A: Mastering Gluten-Free Baking – Perfect 1:1 Flour Swaps
Q1: What does “1:1 flour swap” really mean in gluten-free baking?
A: A 1:1 flour swap means you can replace traditional wheat flour with a gluten-free flour blend in equal measurements, without having to tweak the rest of the recipe. It’s like speaking the same language, just swapping the alphabet. But to pull off this magic, you need a blend that mimics wheat’s structure, moisture, and flavor profile.
Q2: Can I just grab any gluten-free flour and swap it one-for-one with wheat flour?
A: Unluckily, no. Single gluten-free flours like rice flour or almond flour behave very differently than wheat flour. They lack gluten’s stretchy network, which gives baked goods their texture and rise. Using a single flour alone frequently enough leads to crumbly or dense results. The magic happens with thoughtfully crafted blends that balance starches, proteins, and sometimes binders to create that perfect 1:1 match.
Q3: What are the key ingredients to look for in a good gluten-free flour blend for 1:1 swapping?
A: A winning blend typically includes a mix of starches (like tapioca, potato, or arrowroot), protein-rich flours (such as brown rice, sorghum, or millet), and xanthan gum or psyllium husk as binders. This combo mimics wheat’s gluten matrix, helping your cakes fluff, your breads rise, and your cookies hold together-no crumble zone guaranteed.
Q4: Will the flavor of my baked goods change when I swap with gluten-free flour?
A: Expect subtle differences, but nothing that should send you running. nutty or earthy undertones from flours like sorghum or teff can add character. Many blends are designed to be neutral and let your recipe’s natural flavors shine. If the flour flavor is too prominent for your taste,a pinch of cinnamon or a splash of vanilla can balance the profile beautifully.
Q5: How do moisture and baking times change with gluten-free flour blends?
A: Gluten-free flours frequently enough absorb liquid differently, so keep an eye on batter consistency-it might feel thicker or thinner. Some adjustments like adding an extra egg or a touch more liquid can help. Baking times can be similar, but always do the toothpick test: once the toothpick comes out clean, it’s ready! Be gentle with oven temp-gluten-free baked goods can dry out if overbaked.
Q6: Can I make my own 1:1 gluten-free flour blend at home?
A: Absolutely! A simple starter blend is: 40% brown rice flour, 30% potato starch, 20% tapioca starch, and 10% sorghum flour.Add 1 teaspoon xanthan gum per cup if your recipe doesn’t include it. Experimenting with ratios is part of the fun,and as you tweak,you’ll craft a blend that’s absolutely your signature.
Q7: What’s your top tip for beginners mastering gluten-free 1:1 flour swaps?
A: start with recipes specifically crafted or tested for gluten-free blends. Use a reliable pre-made blend or your carefully measured homemade mix. Don’t rush the tasting or cooling process-gluten-free goodies often firm up as they cool, revealing their true texture. And remember, patience and curiosity are your best ingredients!
Mastering the art of 1:1 gluten-free flour swaps is like unlocking a new realm in baking-a world where delicious, accessible, and comfort-filled creations come to life without gluten’s grip. With the right blends and a bit of practice,your baked masterpieces will have everyone asking for your secret!
To Wrap It Up
Mastering the art of gluten-free baking doesn’t have to be a daunting journey. By understanding the nuances of 1:1 flour swaps, you unlock a world of delicious possibilities-where cakes rise just right, cookies hold their shape, and bread boasts that perfect crumb. With a bit of practice and patience, these simple swaps become second nature, transforming your favorite recipes into gluten-free delights without sacrificing texture or taste. So, equip yourself with knowledge, experiment boldly, and watch as your gluten-free creations become the new standard for home baking excellence. Happy baking!